

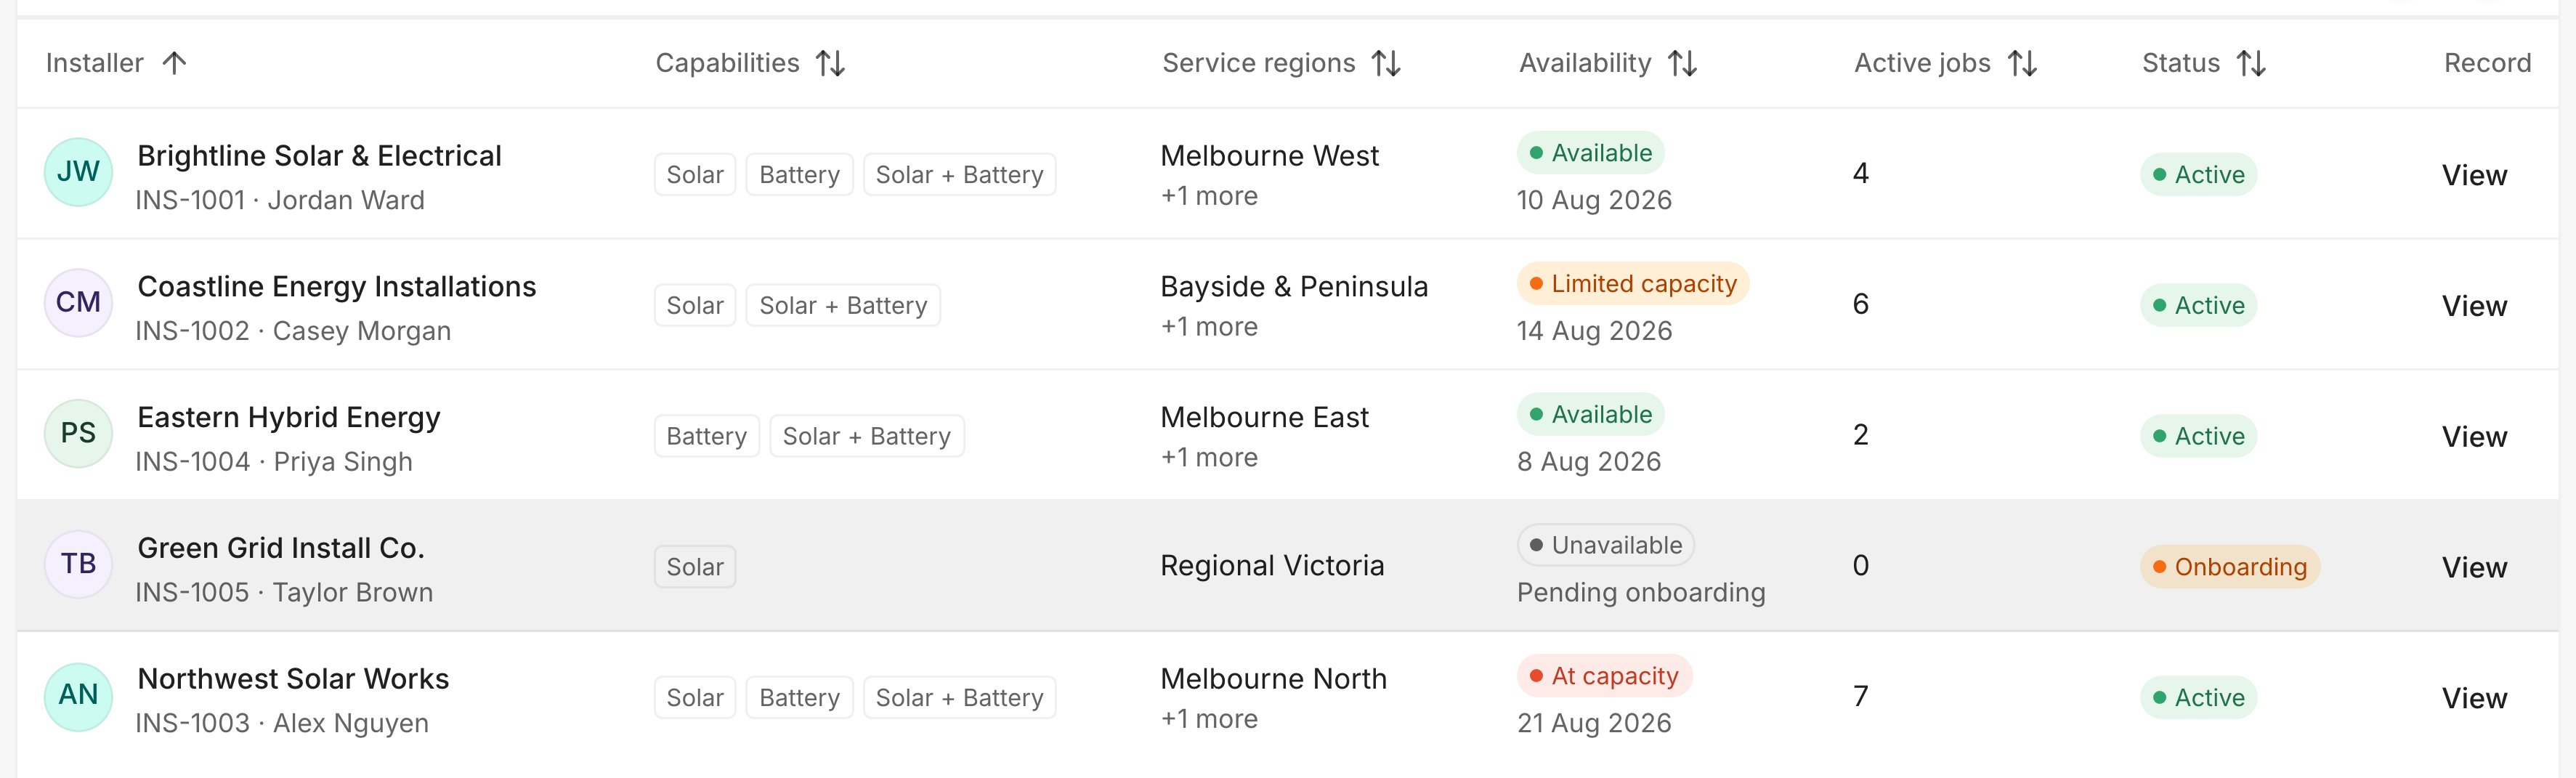
The installer directory shows capabilities, regions, availability and active jobs. Sample data.
Add an installer
- Choose Add installer.
- On Details, enter the Business name, Legal name, ABN, Business email and Business phone.
- Set the Directory status. Only Active installers can be assigned to jobs.
- Turn on Preferred installer to show this partner first when you assign work.
- Add the primary contact and business address.
- On Coverage, choose the Capabilities (such as Solar, Battery or Solar + Battery) and Service regions.
- On Capacity, add when they are available and how much work they can take. You can skip this and add it later.
- Choose Add installer.
Review an installer
Choose View on a row to open the record.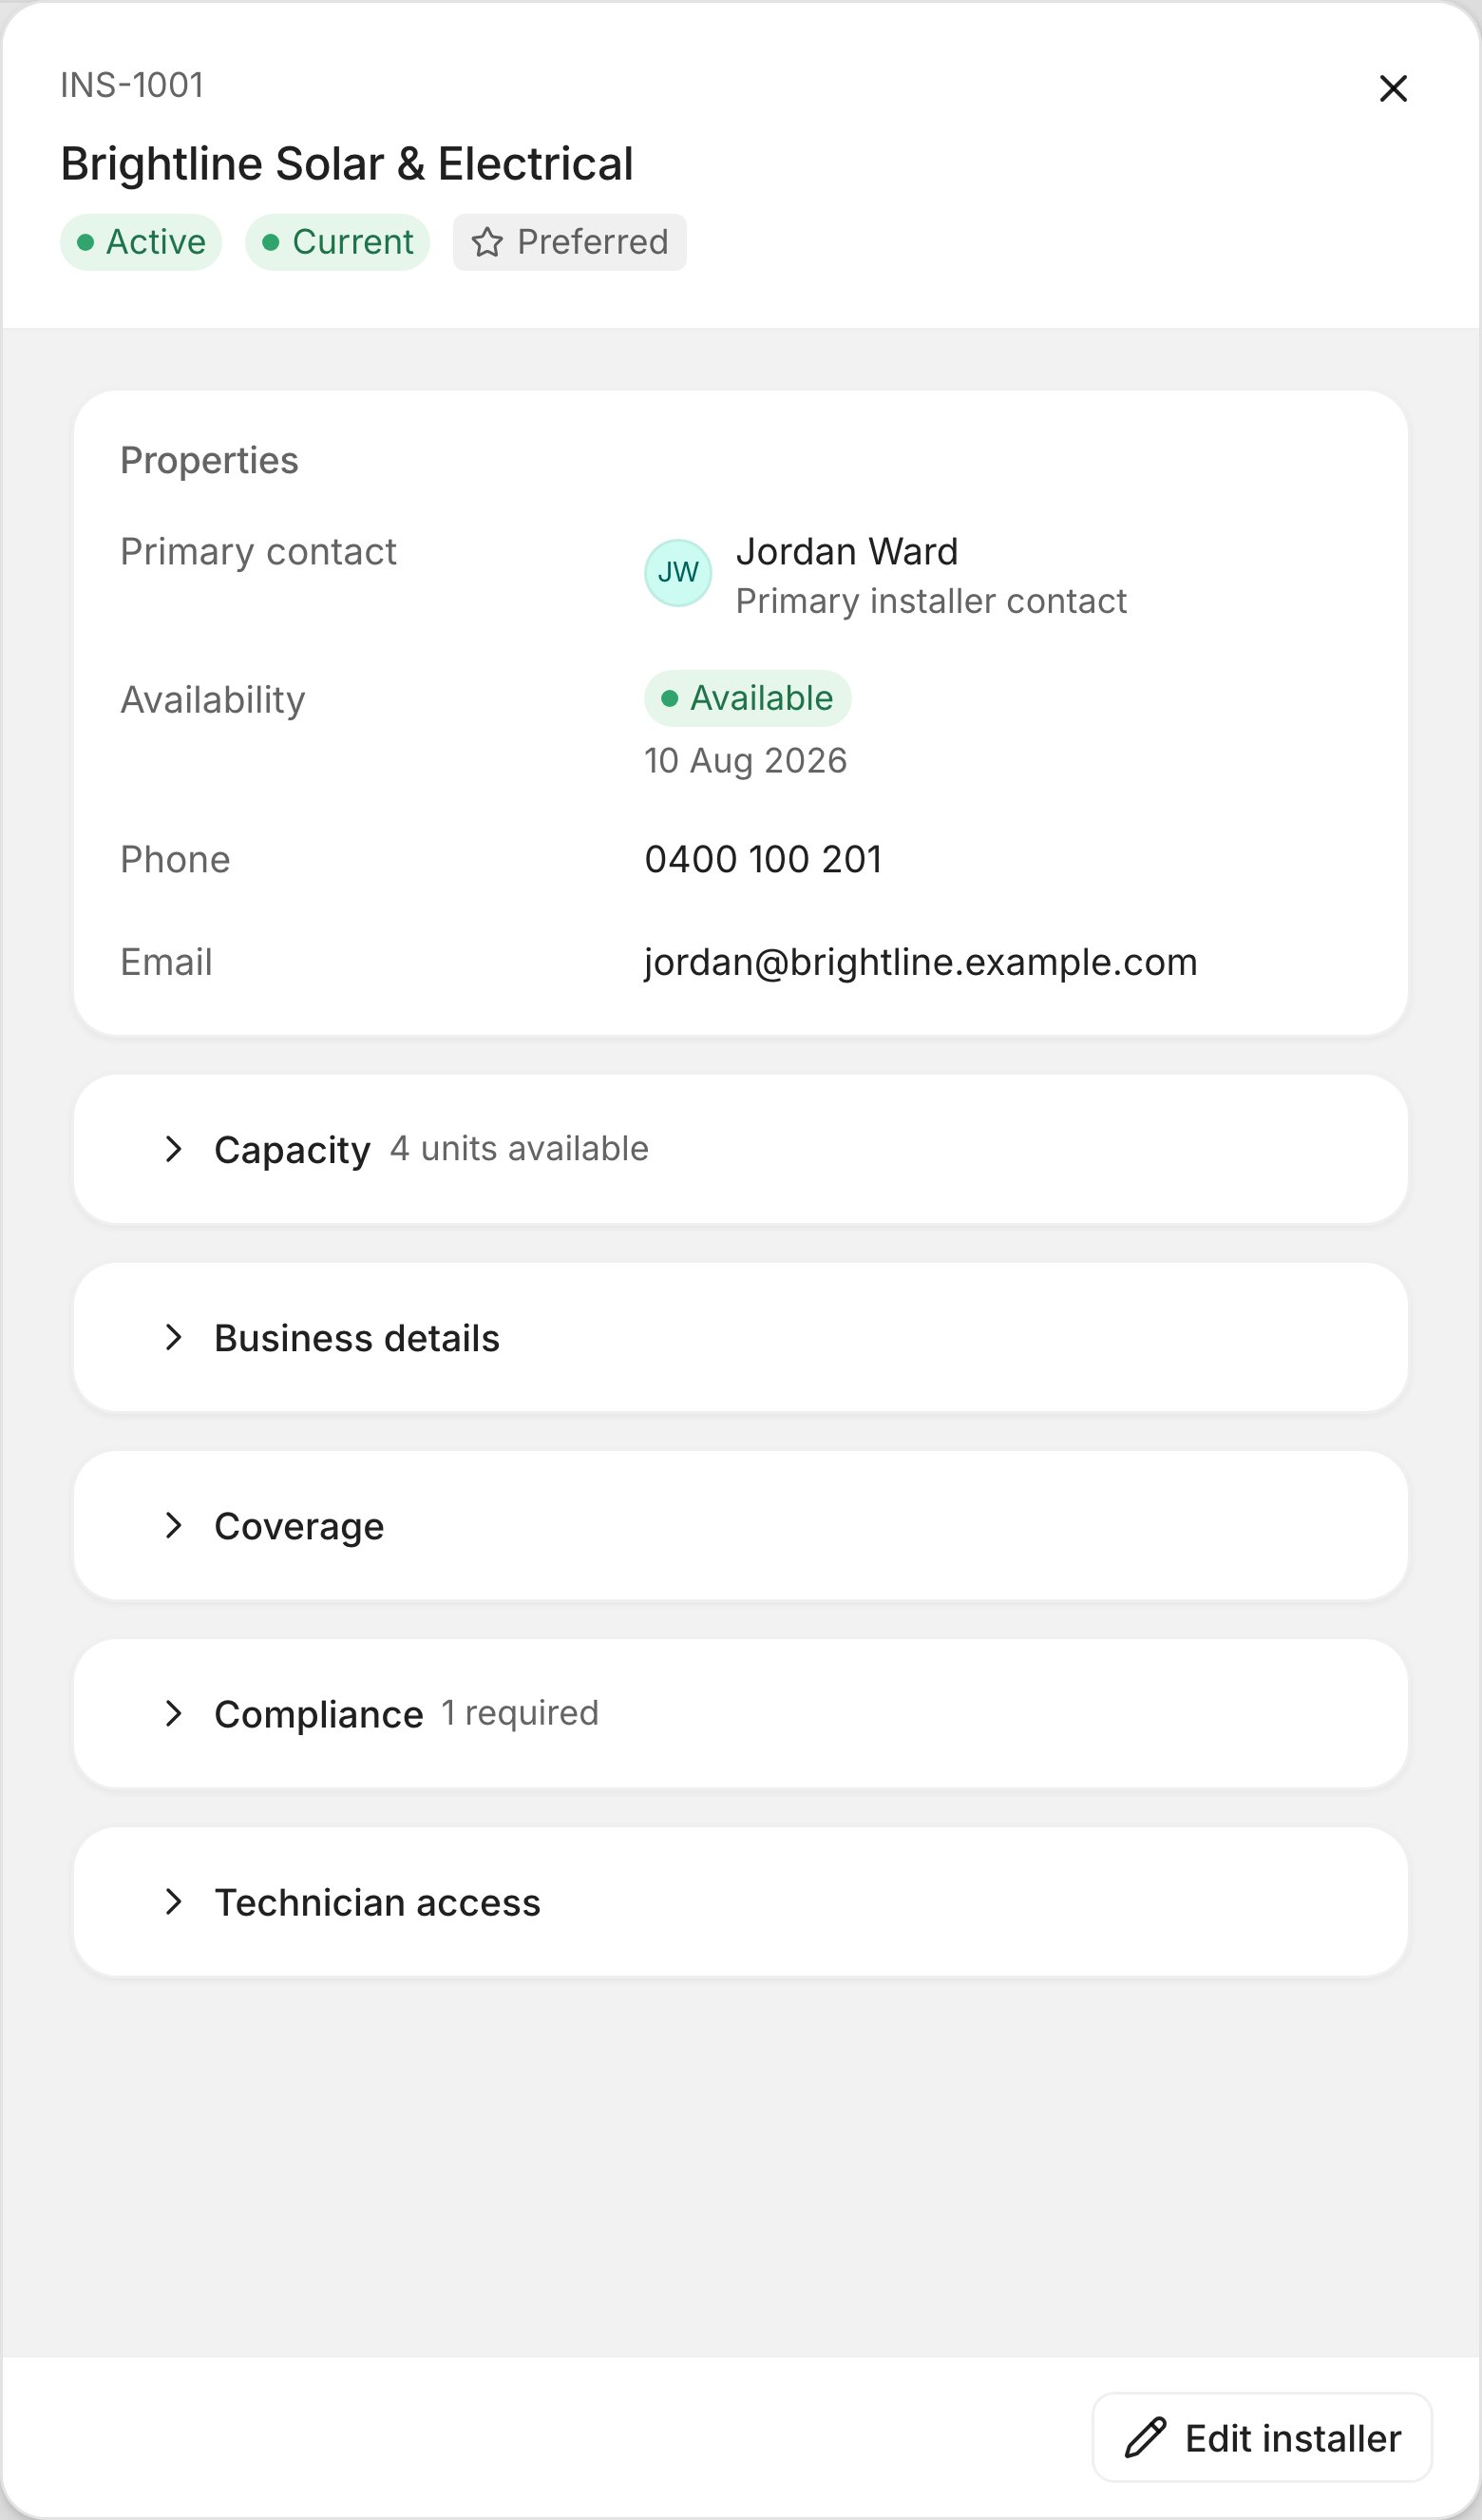
An installer record. Expand each section for the detail. Sample data.
Choose Edit installer to change any of it. Keep compliance documents current. An expired item can stop the installer being offered for new jobs.
Give the installer a sign-in
An installer record is not a login. To let a technician see their jobs in the Work app:- In Team & Access, invite the person with the Technician role. See Team.
- Ask them to accept the invitation.
- Open the installer, expand Technician access and choose them under Technician user.
- Choose Save technician user.
Assign an installer to a project
- Open the project in Projects & Jobs.
- On Overview, expand Associate an installer in the Delivery checklist.
- Pick the installer from Associate to installer.
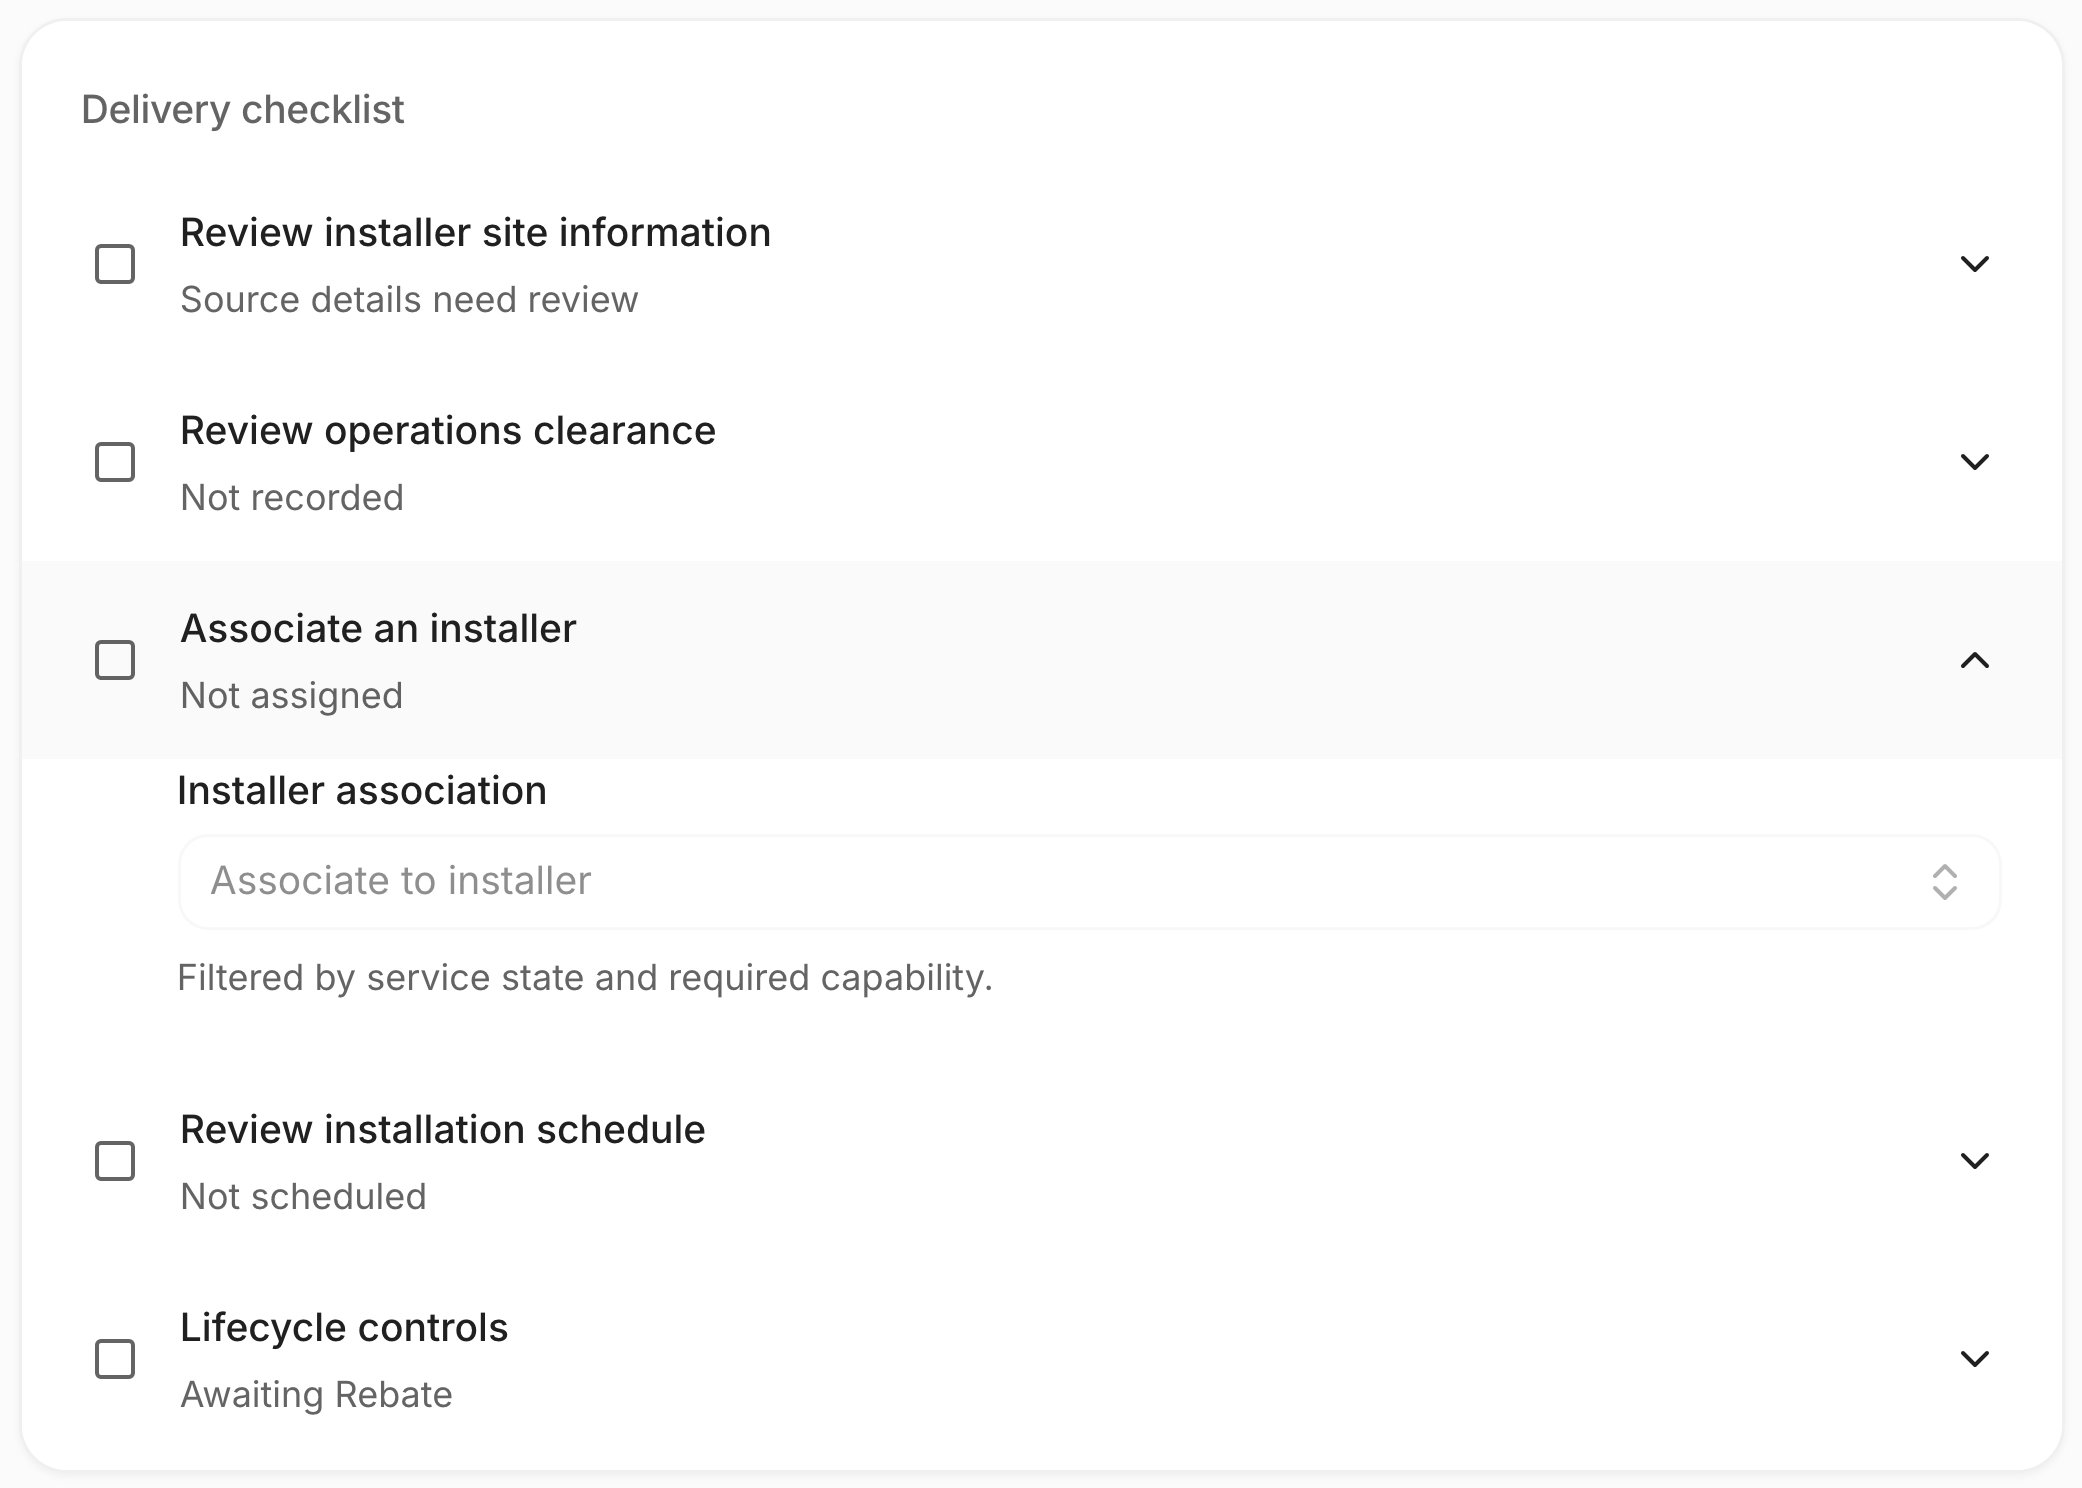
Only installers who cover the site's state and the job type are listed. Sample data.
Remove an installer
- Choose Select, then tick the installers to remove.
- Choose Delete.
- Choose Confirm delete.